Hi everyone,
I joined the Maple Leaf Bee in August, when one of the other members had to drop out.
I volunteered to take her place.
So, my month came fast and I had to decide what to ask the girls to make.
I wanted it to be a stash busting project, and a modern project.
So, I took out a bunch of my modern fabric and started cutting.
I decided to use my GO! Dresden Die since I love it so much.
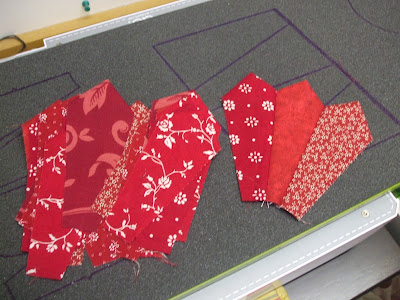
I cut out all the petals for the girls.
I used 20 different fabrics, in aqua's, pinks, and greens.
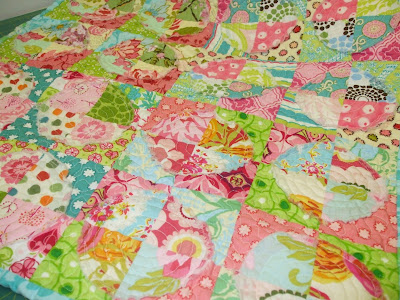
This is the test block that I made.
I thought I would do a little tutorial for the girls, in case they had never made a dresden block before.
Here it is.
First you want to fold the petal right side together at the wide end and stitch it across.
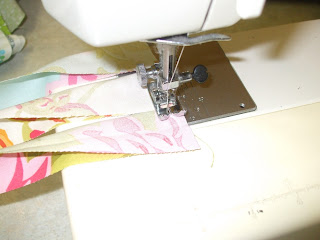
As you can see above, just chain stitch all the petals. It goes pretty quick this way.
Once you have all the tops stitched, then cut them apart and trim the point to about an eighth of an inch from the seam you just made. This just helps in turning the tip of the petal.
Turn all the petal tips right side out. You may have to use a tool to get the tip out all the way. I used the tip of my scissor just to push it out a bit. Then, iron the tips of the petals. I have the petals all layed out the way I want to sew them. See below:
Now, I will start to sew the petals together in pairs. You can chain stitch them to make it quicker.
I use my 1/4 inch foot to sew the petals together. I started sewing from the edge of the petals. I find that this makes for a nicer finish. You just match up the top corners of both petals and start stitching. Once all your pairs are sewn together, you want to iron the seam open.
Once all your pair seams are ironed, keep sewing the pairs together, and ironing your seams open, until you have your dresden sewn together as below.
This is what the back should look like.
Now, you can see that mine isn't perfect. Just do your best when sewing them together.
It's time to get the circle ready for the middle. I cut a five inch circle of fabric using the GO! Circle die and included a 4 inch cardstock circle cut using the GO! Dresden die circle, to help you turn the edges for the circle.
I like to stitch this with the sewing machine. So, set your stitch length to the longest setting and with your 1/4 inch foot, start stitching all around the circle as shown below.
You are going to leave the starting and ending threads long enough so that you can sinch the fabric around the cardstock circle.
See how I sinched the fabric around the cardstock. Now you want to iron it well on both sides. I used a bit of spray starch on it before I removed the cardstock circle.
See how nice the edges are turned, and it's a perfect circle.
You now want to sew this circle onto your dresden using a blanket stitch or zigzag.
Once you have it sewn on you can pin your dresden to your background fabric and stitch it on using a blanket stitch or a zigzag stitch.
And you are done.
Isn't is nice?
Well, I hope this little tutorial is helpful.
Wishing all of you a Happy Hallowe'en.
Hugs
Ariane


