Showing posts with label tutorial. Show all posts

Tuesday, September 18, 2012

Dots on Dots Blog Hop!!

Hi everyone,

I hope you are all enjoying the Dots on Dots Blog Hop.
There has been so many wonderful blocks and projects shared.
Thanks to Corrie and Madame Samm for organizing this event.

I made the Japanese x and + block with my dots fabric.
It's a 10 inch finished block.


I didn't just make one block, but 16 blocks.
If you want to learn how to make this block, I have a tutorial in PDF format for you.


These are part of a bright family lap quilt that I'm making.
My brother and his wife just had their second baby on Saturday.
A beautiful little girl.
So, I made this quilt for all of them.
It will be big enough to cuddle Mommy, and baby and big sister.
And daddy too!!!!
It will be a fun quilt to lay on the floor and play on, or take on a picnic.

I was struggling with what kind of border to use.
Then last week I purchased the book Word Play Quilts by Tonya Ricucci
That gave me the inspiration I needed.
I got three sides done in time for the blog hop.
Here is my quilt top in progress!!


The color words are all made of dotty fabric.
The black is a Kona cotton solid.

Well, I hope to have the quilt top done by the end of the week.

Don't forget to stop by the other blogs in todays hop.


September 18th
Mary Scharfenberg


Hugs


Sunday, August 5, 2012

9-Patch Flower....A block tutorial......

Hi everyone!!

I thought I would share a tutorial of the blocks I made for the Think Christmas Blog Hop.
I'm going to call it "9-patch flower".
Since, I don't know the name of this block.
Note: If you know the original name of this block, please let me know.

I will give you dimentions for the 12.5 inch block and the 6.5 inch block.

Cutting Instructions for 12.5 inch block

8 - 4.5 inch squares of main dark/medium colour fabric
1 - 4.5 inch square of light or fussy cut fabric
20 - 2.5 inch square of light fabric

Cutting Instruction for 6.5 inch block

8 - 2.5 inch squares of main dark/medium colour fabric
1 - 2.5 inch square of light or fussy cut fabric
20 - 1.5 inch squares of light fabric

The instructions from this point on are the same no matter what size you make.

1 - Draw a diagonal line on the small light coloured squares.
Then draw an aditional line 0.5 inch away from the original line.
Note: for the 1.5 inch squares, I made the second line 1/4 inch away from the diagonal line.

2 - Align the small light squares, right sides together, on the corner of the dark square and sew along the pencil line. Repeat this with all eight large dark squares.

Then sew on the second pencil line of each square.

3 - Cut between the pencil lines.


and iron the light fabric back, as shown below.


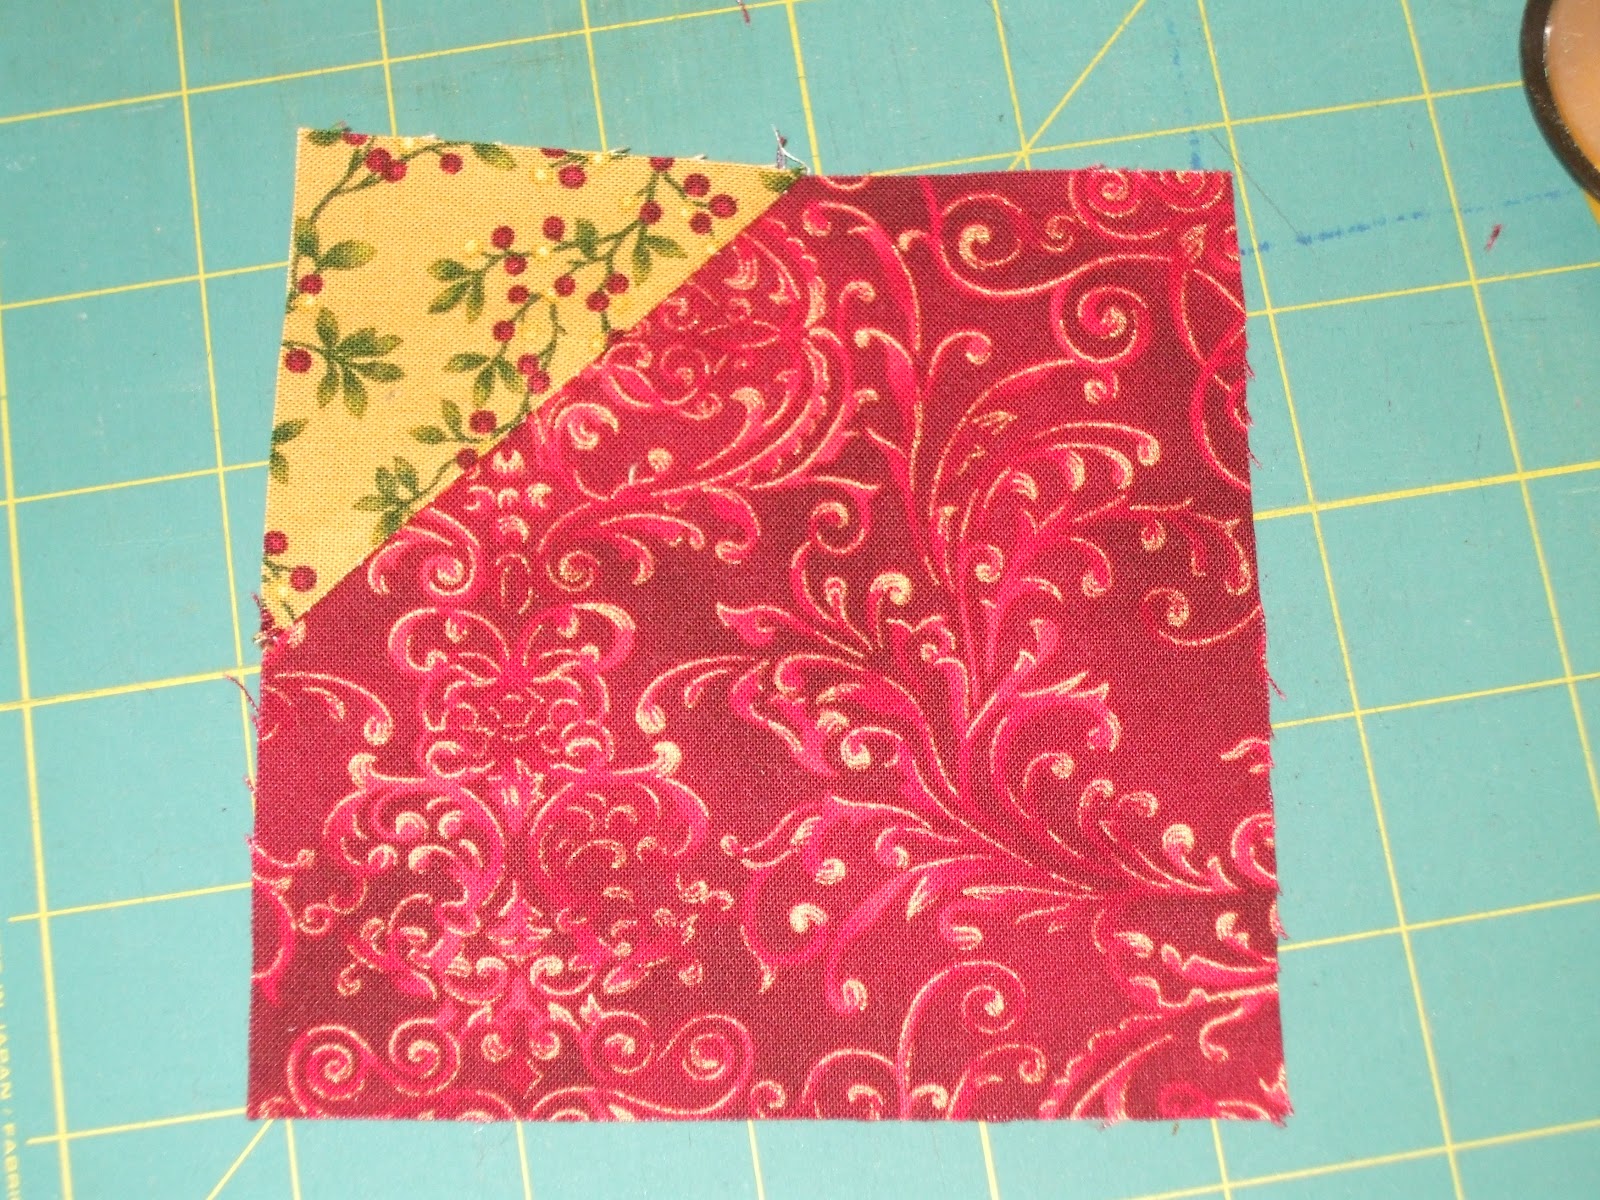
4 - Add another light square to the adjacent corner, as you did in step two.
Sew on the diagonal pencil lines, then cut apart.


5 - Iron the light fabric back.
Set 4 of the blocks aroung the fussy cut block as shown below.

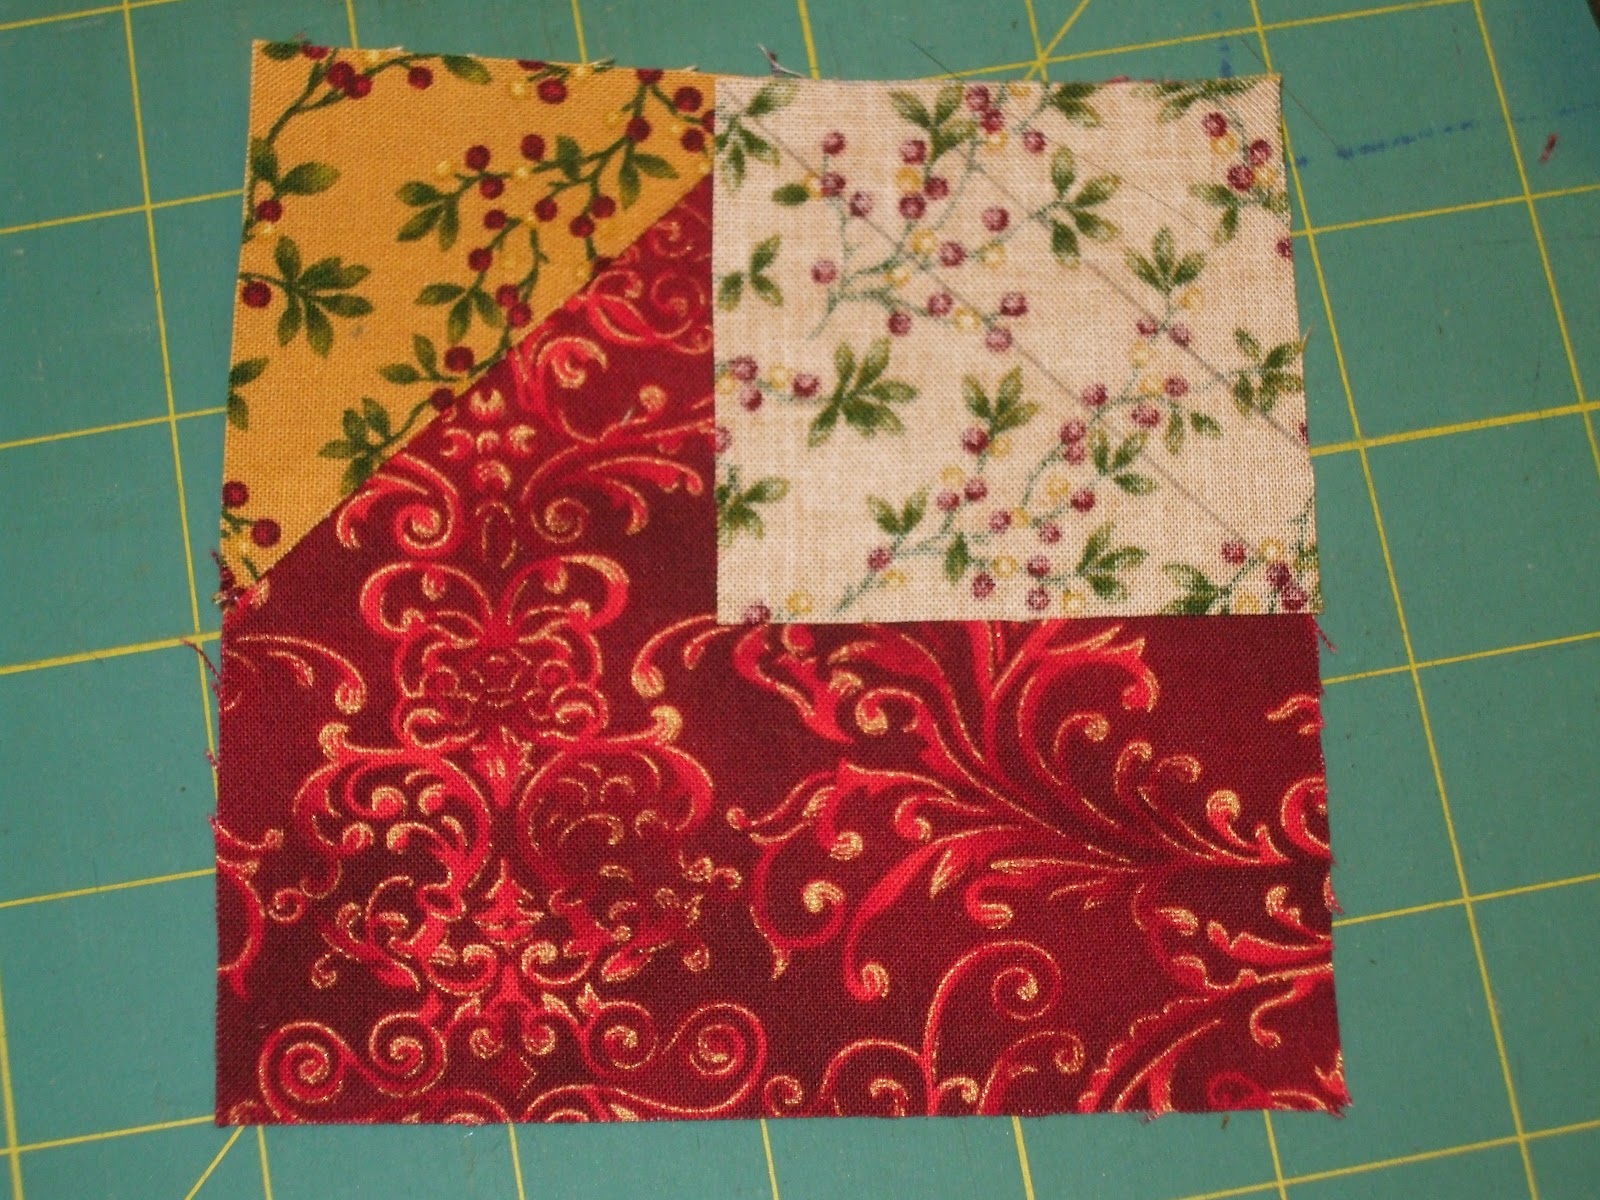
6 - Take the other 4 blocks and add another light square to the third corner
and sew on diagonal lines.

Cut apart, iron the light fabric back.

7 - Arrange all the blocks and sew them together.
I pinned the squares together and lined up the diagonal seam.
This will make the angles meet up just right.

Here's the finished block.


I used Christmas fabric here.


Wouldn't this look good in summer fabrics too?

I'll have to try some out.

If you have any questions, let me know!!

Hugs


Tuesday, April 17, 2012

My A+ block, a tutorial

Hi everyone,

Today, I decided to cut into my stash of Art Gallery fabrics and make a quilt.
I designed this really simple block.
I call it the "A+ block".

Here is what it looks like.
The blocks below are the first 5 blocks I made.


This is a 16.5 inch block.

Do you want to know how to make it?
It's really simple.

You need 2 fat quarters to make 2 blocks.

Cut your fat quarters into 2.5 inch strips.
I cut my strips along the selvage.

You will need to cut your strips as shown in the photo below.


Sew the 4 centre strips together using a 1/4 inch seam.
Iron seams in same direction.

Then sew the two 8.5 inch strips to both sides.
You should end up with the block shown in the photo below.


See, it looks like an "A".

Now, make 4 of these "A" blocks.
Once you have the four "A" blocks done, arrange them as shown below.
Sew these 4 blocks together.

Your finished block should look like this.
You should have enough strips left over from your fat quarters,
 to make another block reversing the dark and light fabric.

I got the two blocks below using 2 fat quarters.
Edited to add: Be very careful on how you set your A blocks,
otherwise you will end up with your blocks going the wrong way.
See below, I know I did it the wrong way. UGHHHH!!!!!


Now, I've got it right!!!

Easy, eh!!!

I have 6 blocks done.
I want to make 12 blocks.
That should give me a nice size lap quilt.
I will be adding borders too. 
But I still have to figure that out.

I hope you like the tutorial.

Hugs


Monday, February 13, 2012

GO! Ahead and Show Some Love Blog Hop ***Giveaway CLOSED****

The Blog hop starts today, and Marjorie and I are the first ones up.
Don't forget to visit all the others blogs this week too!

Here is the line up!!!

February 13th
Ariane (Ariane's Crafts)
February 14th
Connie (Quilting by the River)
Linda (Living 4 Quilting)
February 15th
Lisa Marie (Scraps of Life)
Marilyn (North Hills Quilters)
February 16th
Alicia (Heirloom Quilting)
Marjorie (Marjorie's Busy Corner)
February 17th
Sharon (Crazee Corners)
Jacque (Lilypad Quilting)


February 18th
Stacey (Driving Miss Stacey)
Tracey (The Peony Teacup)
Paulette (Sweet P Quilting and Creations)

I've prepared this for a few weeks now.
I wanted to use Accuquilt GO! dies that a lot of you might already have.
You will need the circle die,
and the 5 inch square die.

I'm going to show you a very simple block that can be made with any of the circles on the circle die.
It's the half-circle pinwheel appliqued block.

This block can be used to make many different items.

Let's start!!!


Take your red and white/cream scraps out.

Instruction for the 5 inch unfinished block.

1) You will need to cut 2, 2.5 inch squares of the same red fabric.
You can also use the value die to cut the 2.5 inch red blocks.
 Iron fusible web on the back of the two red squares.
You can see in the image that I have 2 pairs of red squares.

2) Once you have ironed the fusible web to the red squares,
align your red squares over the smallest 2 inch circle on the circle die.
Cover the die with your cutting mat and crank the die through the machine.

3) You will have some nice perfectly cut circles.

4) Now take these circles to your cutting board and cut them in half.

Next Step......


1) Cut your 5 inch background squares using the 5 inch square die.
2) Bring a cut square to your ironing board.
You will iron you square in half with wrong sides together.

3) Then, fold in half again and iron without going over your first ironed crease.

4) When you open up your square, you should have the creases showing like in image #4.

Next.....

You will then take your half circles, remove the paper backing from them and lay them out on you block using the creases as guides.
Your blocks should look like the ones above.
Iron the half circles to your background fabric.
Then take these blocks to your sewing machine and zig-zag stitch all around the edges.
You can also use a button hole stitch or some other decorative stitch.

Now....what to make with these blocks.
A simple needle case would be so handy.


1) Sew your pinwheel block to another plain 5 inch background square.
Iron the seam open

2) You should now have a piece 9.5 X 5 inches.

3) For the inside of your needle case you need to cut a main piece 9.5 X 5 inches in background fabric,
Then a red piece of fabric for the pockets 9.5 X 6.5 inches.
You will iron the red fabric in half to form the pocket.

4) Lay the red pocket fabric over the background fabric and stitch a pocket line in the centre, then one 2 inches from the centre. Then baste stitch 1/8 th inch around the outer edge of the pocket.


5) Lay your inside piece over a piece of batting. 
The batting should be just a bit bigger then you inner piece.
Cut a 3 inch piece of ribbon and baste stitch it to the centre of the left side.

6) Lay the outer piece right sides together over the inside piece.
Pin in place.

7) Sew a 1/4 inch seam all around the edge of your fabric.
Leave about a 2 inch opening to allow for turning.
Make sure you back stitch at the beginning and ending stitches.

8)Trim your batting off and clip the corners.


9) Turn you needle case through the opening.

10) Iron your needle case and the opening to prepare for top stitching.

11) Top stitch using a scant 1/8 inch seam.

12) Cut an 4 X 8 inch piece of felt.
 Center the felt on the inside of the needle case.
Pin in place.
Flip over the needle case,
 and using the seam between the outer blocks stitch down the centre seam to secure the felt.

13) Add a matching button to the back.


You are now done!!!!!


I hope you like this tutorial.
If you have any questions, please let me know.

I'll have more ideas for this block in the next few days.
So please keep coming back.

Now, if you have made it this far down, you are in luck.
I'm giving away the above needle case to one lucky person.


Just leave a comment for a chance to win!!!


The giveaway winner will be announced on Friday!!


Winner is....


Jan said...
How cute is that, and you make it so simple! Thanks much!


Hugs


Friday, December 9, 2011

Twirling Paper Christmas Balls Tutorial


I hope you have fun making some of these ornaments.
They are super fast and super easy.

Hugs


Monday, October 10, 2011

Happy Thanksgiving!!!

Hi everyone,

I would like to wish you all a Happy Thanksgiving Day!!
We celebrate Thanksgiving in October in Canada.
I am so thankful for my wonderful family, my job,
my friends and the wonderful quilting/blogging community.
I am just so blessed.
I don't have alot to share since I worked all weekend,
but thought I would re-share the link to my fall table runner tutorial.
I made it using the isosceles die for the GO! Cutter.
GO! have a look.

Hugs


Saturday, August 20, 2011

Triangle in a square - tutorial

Hi everyone,

I've been  working on my blocks for the Broken Dishes QAL.

In the border of the pattern I drew up,
there is a triangle in a square block.
As I had mentioned in the first post of this quilt-a-long,
I want you all to make this quilt in any size you want.

Sew I need to teach you how to make the triangle in a square block any size you want too!!!

Here we go.

First decide what size your finished block will be.
(Note: this is the size of your original HST block.)

I'm making a 4 inch finished block.

Grab your graph paper and draw a square the size of your finished block. 
Mine is a 4 inch square.
On the top of your square, find the middle and mark the spot.
 Mine is 2 inches. 
Draw a line from this spot to the bottom left corner of the square,
then draw a line to the bottom right corner of the square.
See picture below.
You will now draw a 1/4 inch seam all around your square.

You will use your paper scissors and cut out your template 1/4 bigger than that.
So, your cutting out a 5 inch paper template.
Make 4 templates.
Chose the fabric to make the triangle.
Cut 4 squares the same size as your paper template.
So, I cut a 5 inch square.

Chose your background fabric.
I cut a piece from a coordinating fat quarter.
I came up with a formula to know how big a rectangle you need to cut for this to work.
a = width of rectangle
b = length of rectangle
a = 1 inch + half the width of your finished square
In this case, a= (1+2) 3 inches
b = 2 inches + the size of your finished square.
In this case, b= (2+4) 6 inches

Therefore, you will cut 2 rectangles 3 inch X 6 inches from your background fabric.

I hope I'm not confusing you here.

Lay your square right side down.
Put your paper template right side up over your fabric square.
Pin your paper template to your fabric square.

Take your background rectangles and lay it right side together over your triangle fabric as in picture below.
You will bring these two pieces up to the light and adjust the position of the background fabric.
Make sure that you leave enough fabric at the top sticking up, so that when you iron your background fabric back it will cover the whole corner.
Now, without moving the pieces, bring it over to the sewing machine.
Make sure that you reduce the stitch size on your machine.
Then stitch on the line as shown below.
Bring your stitched piece to your ironing board and iron the background fabric back.

You will them trim the triangle fabric that is behind the background fabric.
See picture below.

This is what it will look like from the paper side, once you've trimmed the triangle fabric.
(I know I did #3 before 2. It doesn't really matter for this block which side you do first)
Now, do the same for the other side.
When I sew the second piece of background fabric, I like to start stitching in the seam allowance.
It just makes the point of your triangle look that much better.
See below.
Make sure you trim the triangle fabric on the other side too.
Now, take your squaring ruler and cut on the paper side to square your block.
See pictures below.


And you are done!!!
It's perfect!!!
Yeah!!!!

You can now make your own Triangle in a square block any size you want.

I made a 6 inch finished block, and 3 inch finished block the exact same way to ensure that my math worked for all sizes.

Make your paper template the same way.

Cutting for the 6 inch finished block is:
Paper template should be 7 inches square
Triangle fabric - cut a 7 inch square
Background fabric - cut 2 rectangles 4 X 8 inches

Cutting for 4 inch finished block is:
Paper template should be 5 inches square
Triangle fabric - cut a 5 inch square
Background fabric - cut 2 rectangles 3 X 6 inches

Cutting for 3 inch finished block is:
Paper template should be 4 inches square
Triangle fabric- cut a 4 inch square
Background fabric - cut 2 rectangles 2.5 X 5 inches

I hope this helps all of you.
You will need 4 of these blocks for the border of your Broken Dishes Quilt.

Hugs


36th Avenue